How to Enable Power Over Ethernet on Raspberry Pi
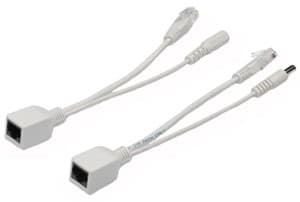
You can enable Power over Ethernet for Raspberry Pi by using a passive PoE injector / splitter system. They are very easy to setup and they are very inexpensive. They cost about $7-$10 for a pair (injector / splitter).
I have been working on a social camera project on my Raspberry Pi for a while now. Very soon, I will be mounting my Raspberry Pi in an outdoor housing to the back of my house. You can see pictures of the camera housing that I am using here. My back yard has a nice view of a lake where there are always lots of birds, turtles, butterflies, and occasionally an alligator.
The place where I will mount the Raspberry Pi and camera is a spot where I previously had an IP camera mounted, so there is already a CAT5 cable run to that location that connects the router inside my house. The IP camera that was previously mounted used PoE, so I did not also run 18/2 power cable and there are no power outlets located anywhere close-by.
Passive Power Over Ethernet to the Rescue
Did you know that you can use a passive PoE injector / splitter system to enable power over Ethernet to non-PoE low voltage network devices?
Here’s how you can setup PoE for Raspberry Pi
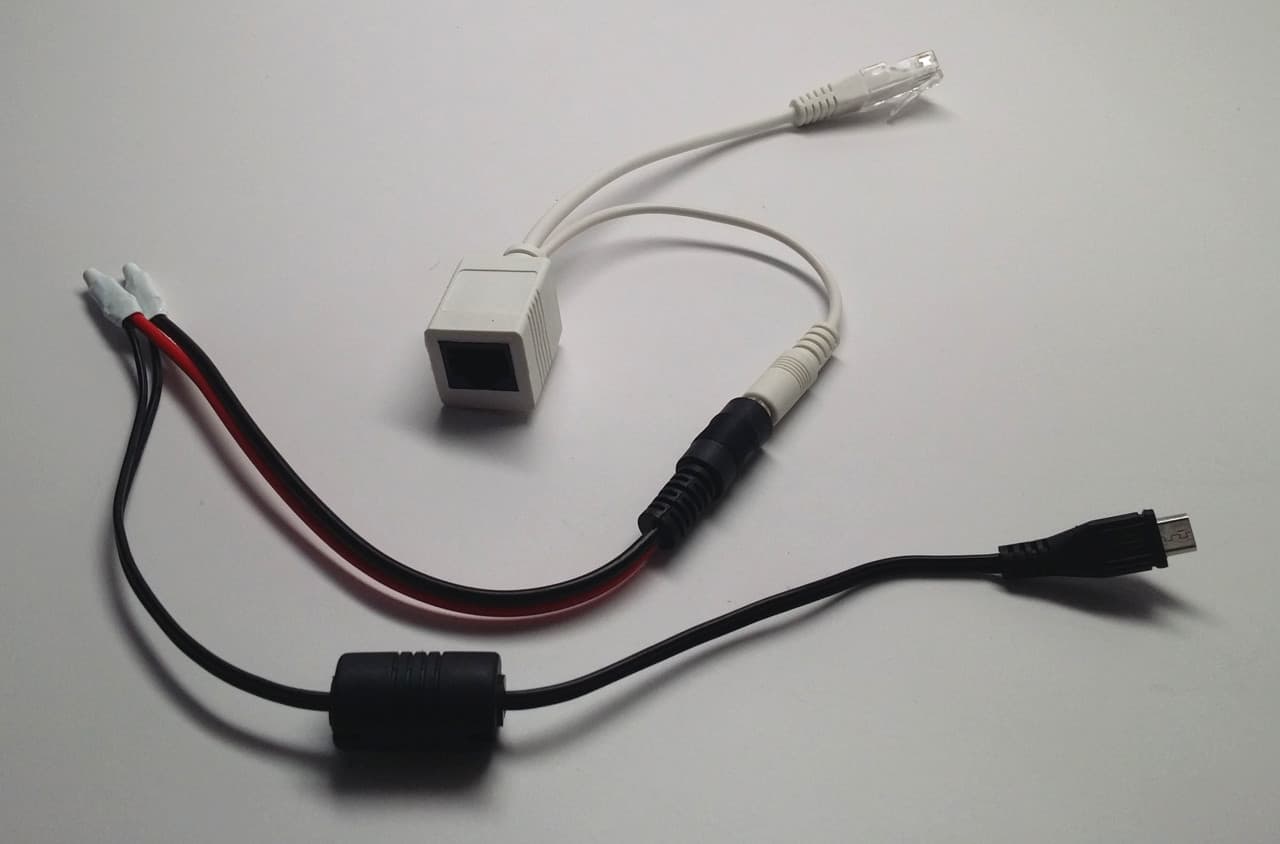
- Cut the cable on your mini USB Raspberry Pi power supply. Be sure to leave the ferrite bead on the side with the min-USB plug (as seen below).
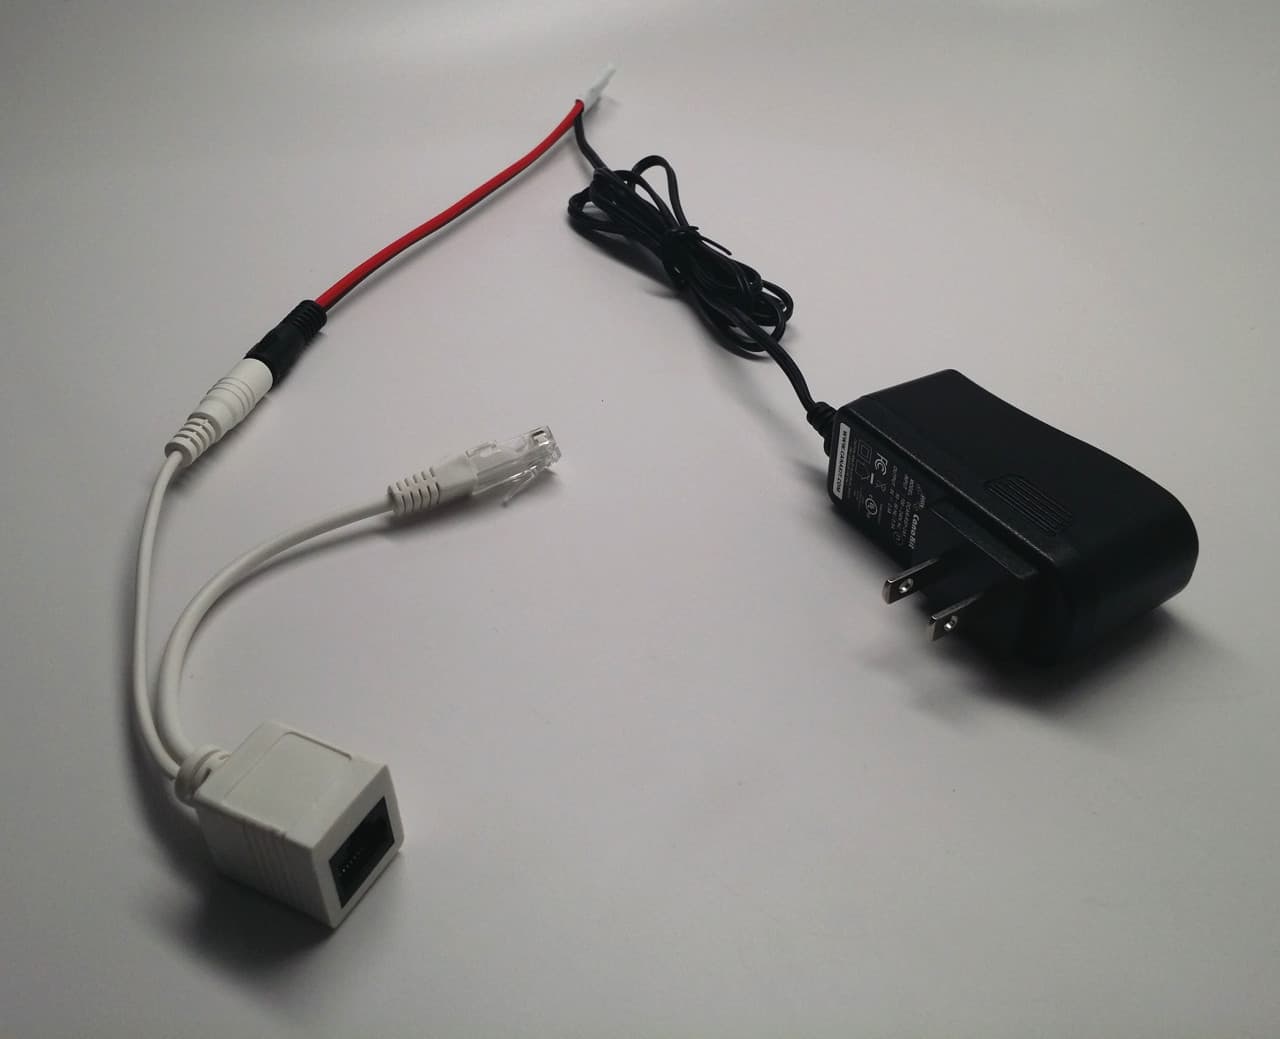
- Attach one side of the cut cable to a PT-3 power cable lead. It does not matter which side. I used some crimp on wire connectors (as you can see below), but you can use twist-ons, solder, or any method that you prefer to attach the power cable to the PT-3 power lead. The other side will be attached to a PT-4 power lead because one side of the injector / splitter system has a male 2.1mm power plug and the other has a female. But again, it does not matter which side you use for the power supply and which is used for the mini-USB connector.
 Here is what the PoE splitter looks like when connected to the Raspberry Pi.
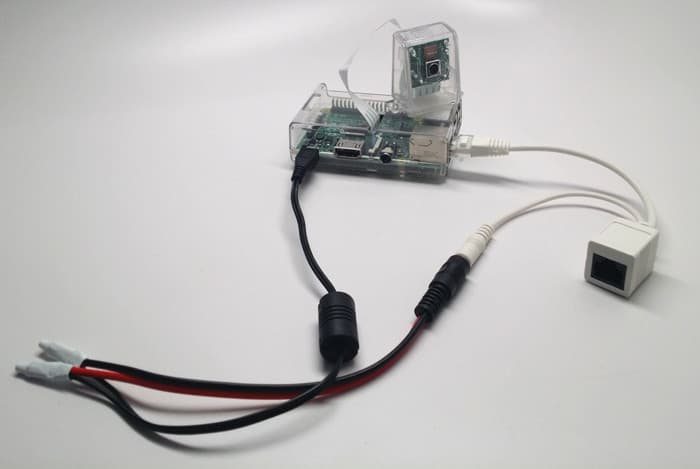
- Attach the other side of the cut Raspberry Pi power supply cable to a PT-4 power lead, then connect to the injector / splitter. Here is what mine looks like. Again, I used crimp on wire connectors.
 This PoE injector side will eventually get connected to a network router or switch as you see below. Obviously, the power supply will get plugged in to a power source.
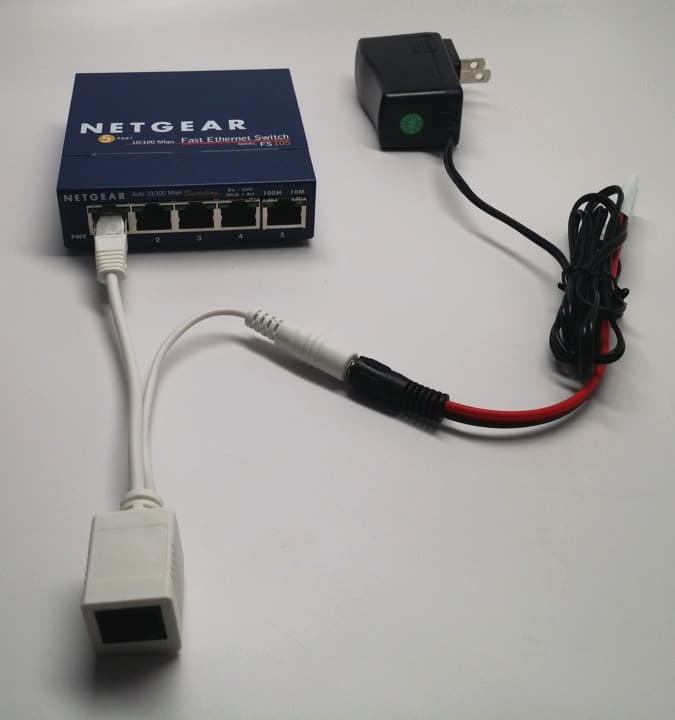
Network Diagram
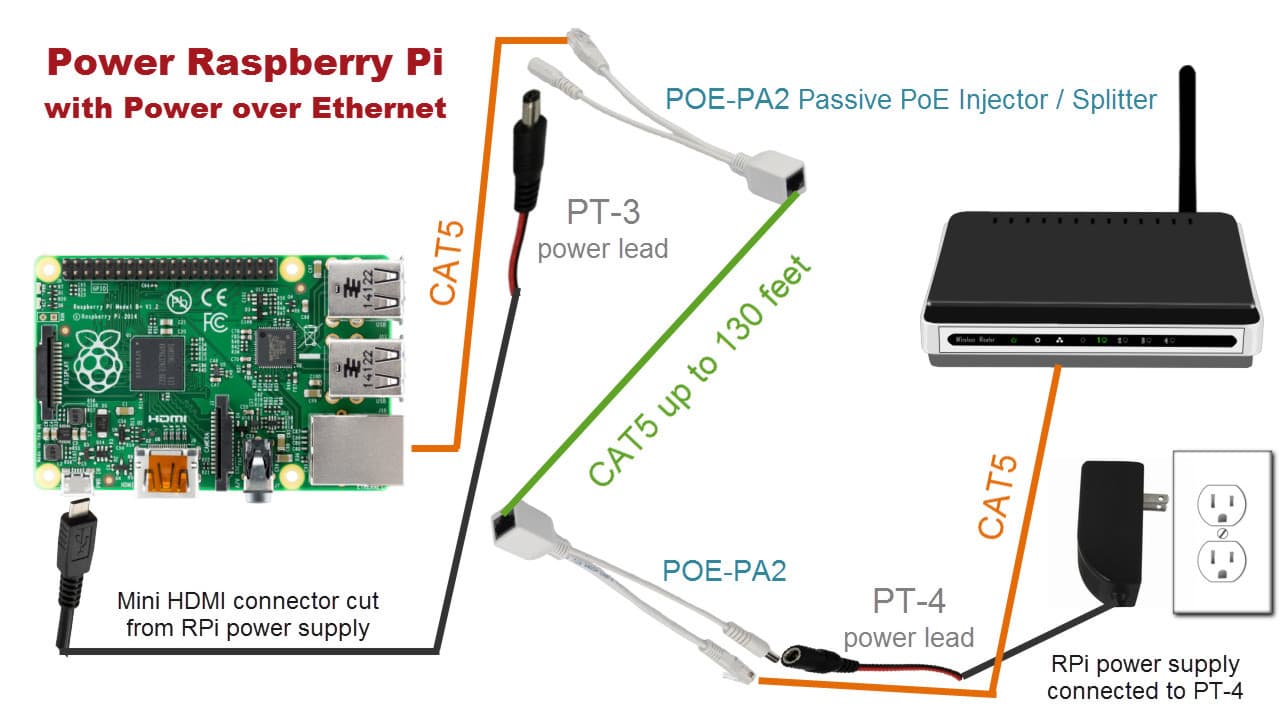
Here is a network diagram that shows all of the pieces working together. I think that it looks more complicated than it really is.
This passive PoE system enables you to run a single CAT5 cable to your Raspberry Pi to provide both power and network connectivity. You can run the CAT5 up to about 130 feet depending on how much current your Raspberry Pi is drawing and the type of cable that you use.
Additional Raspberry Pi projects
You can find additional Raspberry Pi projects related to security camera system and alarm integration here.