Contact Us for a Free Consultation
Click below to request a free consultation or just to ask a question. You can also call or text us at 1-561-433-8488 anytime.

Remote Security Camera View Apps

Looking for the best mobile apps and desktop software to remotely view your security cameras? Please take a look at these apps for Viewtron CCTV DVRs, Viewtron IP camera NVRs, and Viewtron network IP cameras. These apps support live security camera viewing as well as recorded video surveillance playback from remotely over the Internet.
Viewtron System Demo
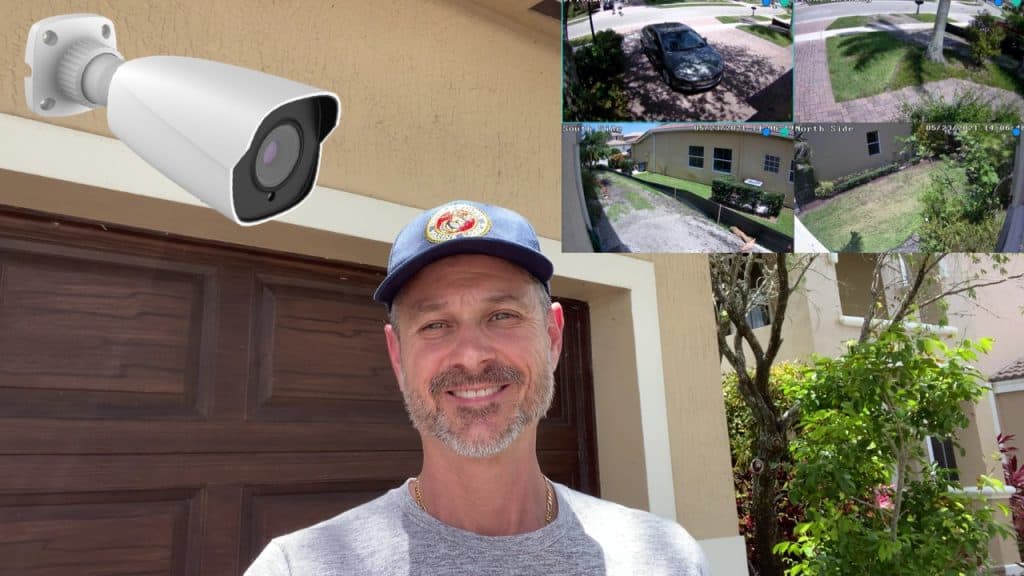
Check out this demo of the Viewtron surveillance DVR. The user interface is so simple to use. You can watch more Viewtron video demos here.
AI Security Cameras
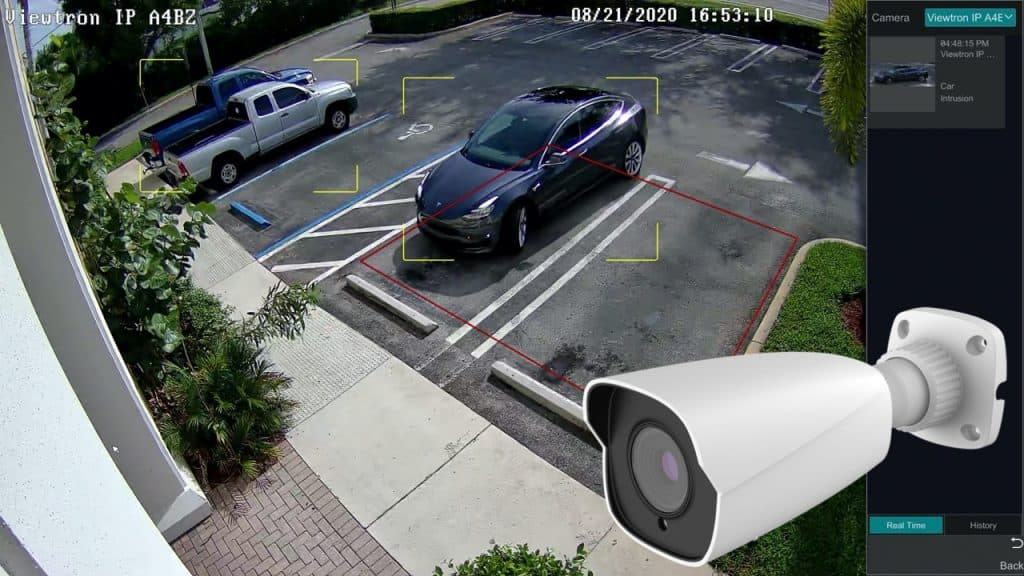 Check out this demo using on of our new Viewtron AI security cameras. These IP cameras have built-in artificial intelligence functions for car detection, people detection, face match detection, facial recognition, license plate recognition (LPR), and automatic number plate recognition, ANPR) .
You can watch more videos using Viewtron AI security cameras here.
CCTV Camera Pros Mobile App
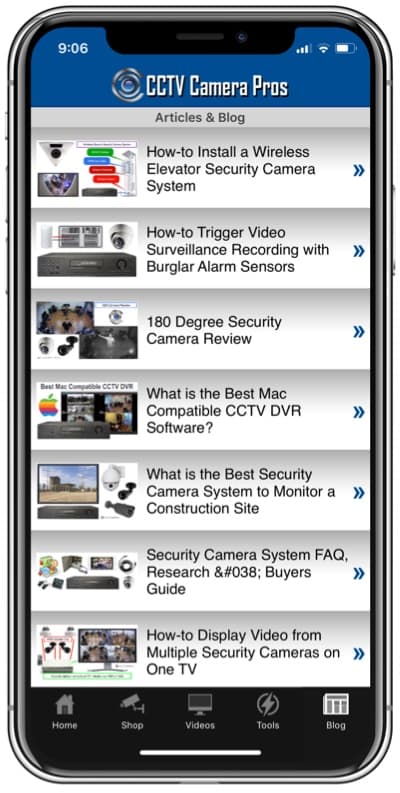
You can read all of our blog posts, watch video demos, and access our installer tools in the FREE CCTV Camera Pros Mobile App.