How to setup a Raspberry Pi Video Streaming Server in 5 Minutes
Here is a super easy way to setup video streaming on Raspberry Pi so that you can access live video from iOS, Android, Windows, and Mac. This project basically turns your Raspberry pi camera into a live webcam. The best part is that it actually takes less than 5 minutes to setup.
I have been developing and testing a lot of Raspberry Pi projects lately, especially ones that use the pi camera. I really love having complete control over this tiny Linux computer to do things like create time lapse video, auto sharing photos on twitter, and send push notifications based on alarm events.
My latest project craving was to setup live video on a web page that I could access from the web browser on my iPhone. A quick search on Google revealed many existing projects that already did this. So, I read through some of the more recent ones to try and pick the best one.
One of the articles that I came across was Miguel Grinberg’s Video Streaming with Flask. Miguel’s explanation on his blog was very thorough and his code looked very clean. I was also interested in learning more about Flask (which his app used). So I used these simple steps that I documented here to install Flask, setup a MJPEG server, and access the live video stream from my phone.
To my delight, I was able to get a live video streaming server running on my Raspberry Pi in under 5 minutes by using the project that Miguel shared on Github.
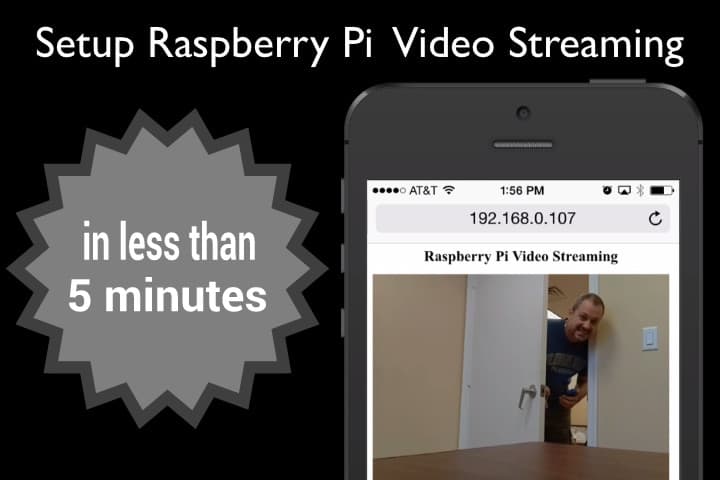
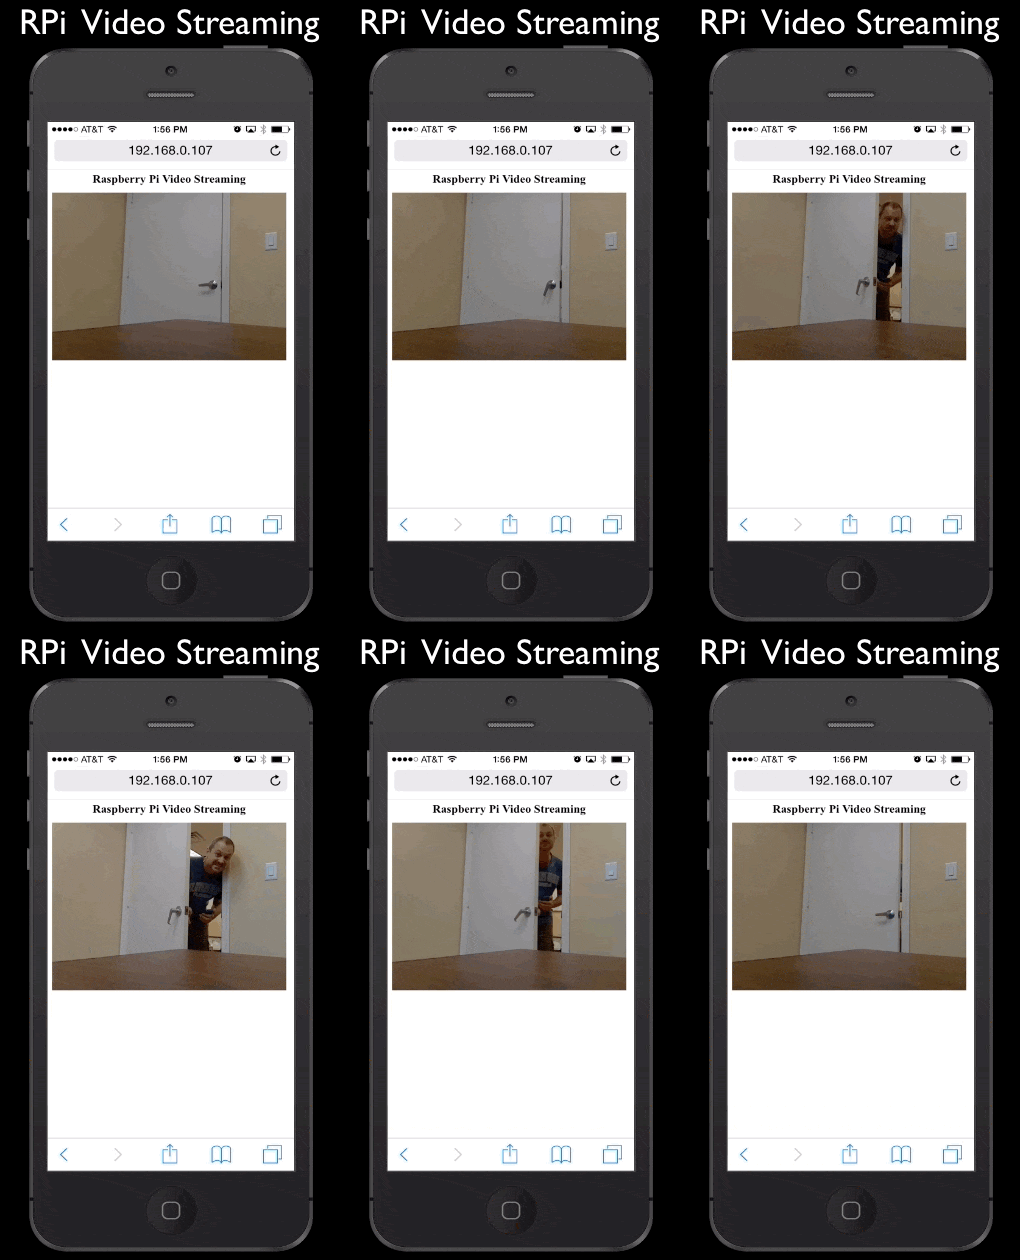
This is what it looked like from iOS when I was done.
Here is how it is setup. If you do not already have a Pi camera setup, please refer to this page to do that first. By the way, I am using the Raspbian operating system on my RPi.
Raspberry Pi Streaming Video Setup
- If you do not already have pip installed on your Raspberry Pi, please use this command to install it:
sudo apt-get install python-pip - Install the picamera library by running this command:
pip install picamera - Install the flask Python library by running this command:
sudo pip install flask - Download Miguel’s Flask video streaming project by running this command:
git clone https://github.com/miguelgrinberg/flask-video-streaming.git - In the project folder edit the app.py file.
Comment out this line by adding a “#” to the beginning
#from camera import CameraUn-comment this line
from camera_pi import Camera - Save the file.
- Run this command to find out the local IP address of your Raspberry Pi.
ifconfig - You will see many lines of output. You are looking for this one:
inet addr:192.168.0.107 Bcast:192.168.0.255 Mask:255.255.255.0 - The inet addr is your local IP address. In this case, 192.168.0.107.
- Start the Flask server by running this command:
python app.py - You will see this, which means that the server is running on port 5000 and is ready.
* Running on https://0.0.0.0:5000/
* Restarting with reloader - Open up a web browser on your favorite device and go to this address https://192.168.0.107:5000, except replace that IP address with the one that your Raspberry Pi is running on.
- You should see a live view the video that your Raspberry Pi is capturing.
I hope that this project got you up and running as quickly as it did for me. Please note that I did not get into how to setup port forwarding so that you could access your camera remotely over the Internet. These instructions will only work from a computer that is connected to the same local area network as your Raspberry Pi. You can refer to these notes and instructions from another project if you want to configure your Raspberry Pi for remote access.


