
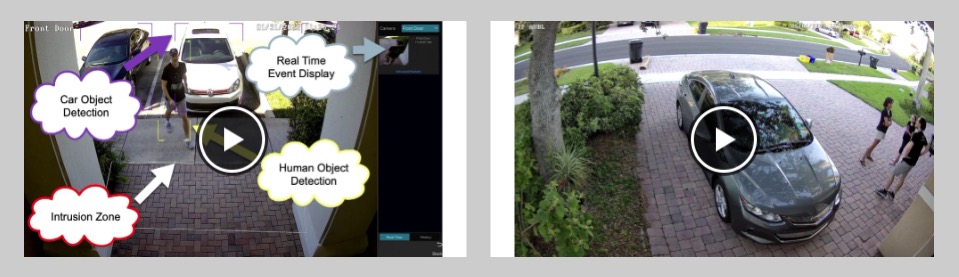
Spot Monitor for IP Cameras on 32 Channel NVR
Watch this video to see how the Viewtron 32 channel NVR supports a spot monitor for IP cameras function via its dual HDMI video outputs. Please note that the dual HDMI / CCTV spot monitor function demonstrated in this video is now also available on the Viewtron 16 channel NVR, 64 channel NVR, and this 32 channel CCTV DVR. If you are not familiar with what a spot monitor function is, basically it is a way to continuously display a live video feed of one or more security cameras on a secondary TV monitor connected to a DVR or NVR. For example, if you are accessing the menu system using the main monitor of the recorder, it does not interrupt the live IP camera display on the spot monitor.
32 Channel NVR (ONVIF Compatible)
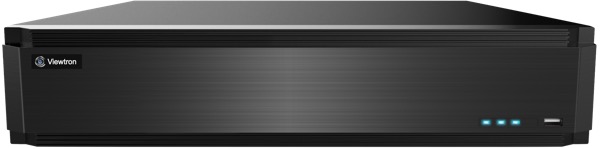
This is the Viewtron 32 channel NVR used in the video. Although CCTV Camera Pros highly recommends Viewtron network IP cameras (especially our AI cameras), this NVR supports ONVIF protocol. It will work with any 3rd party ONVIF compliant IP camera. You can mix IP cameras from various manufacturers if needed.
Spot Monitor Setup
To setup the spot monitor function.
- Connect an HDMI TV / monitor to the HDMI 2 output on the NVR.
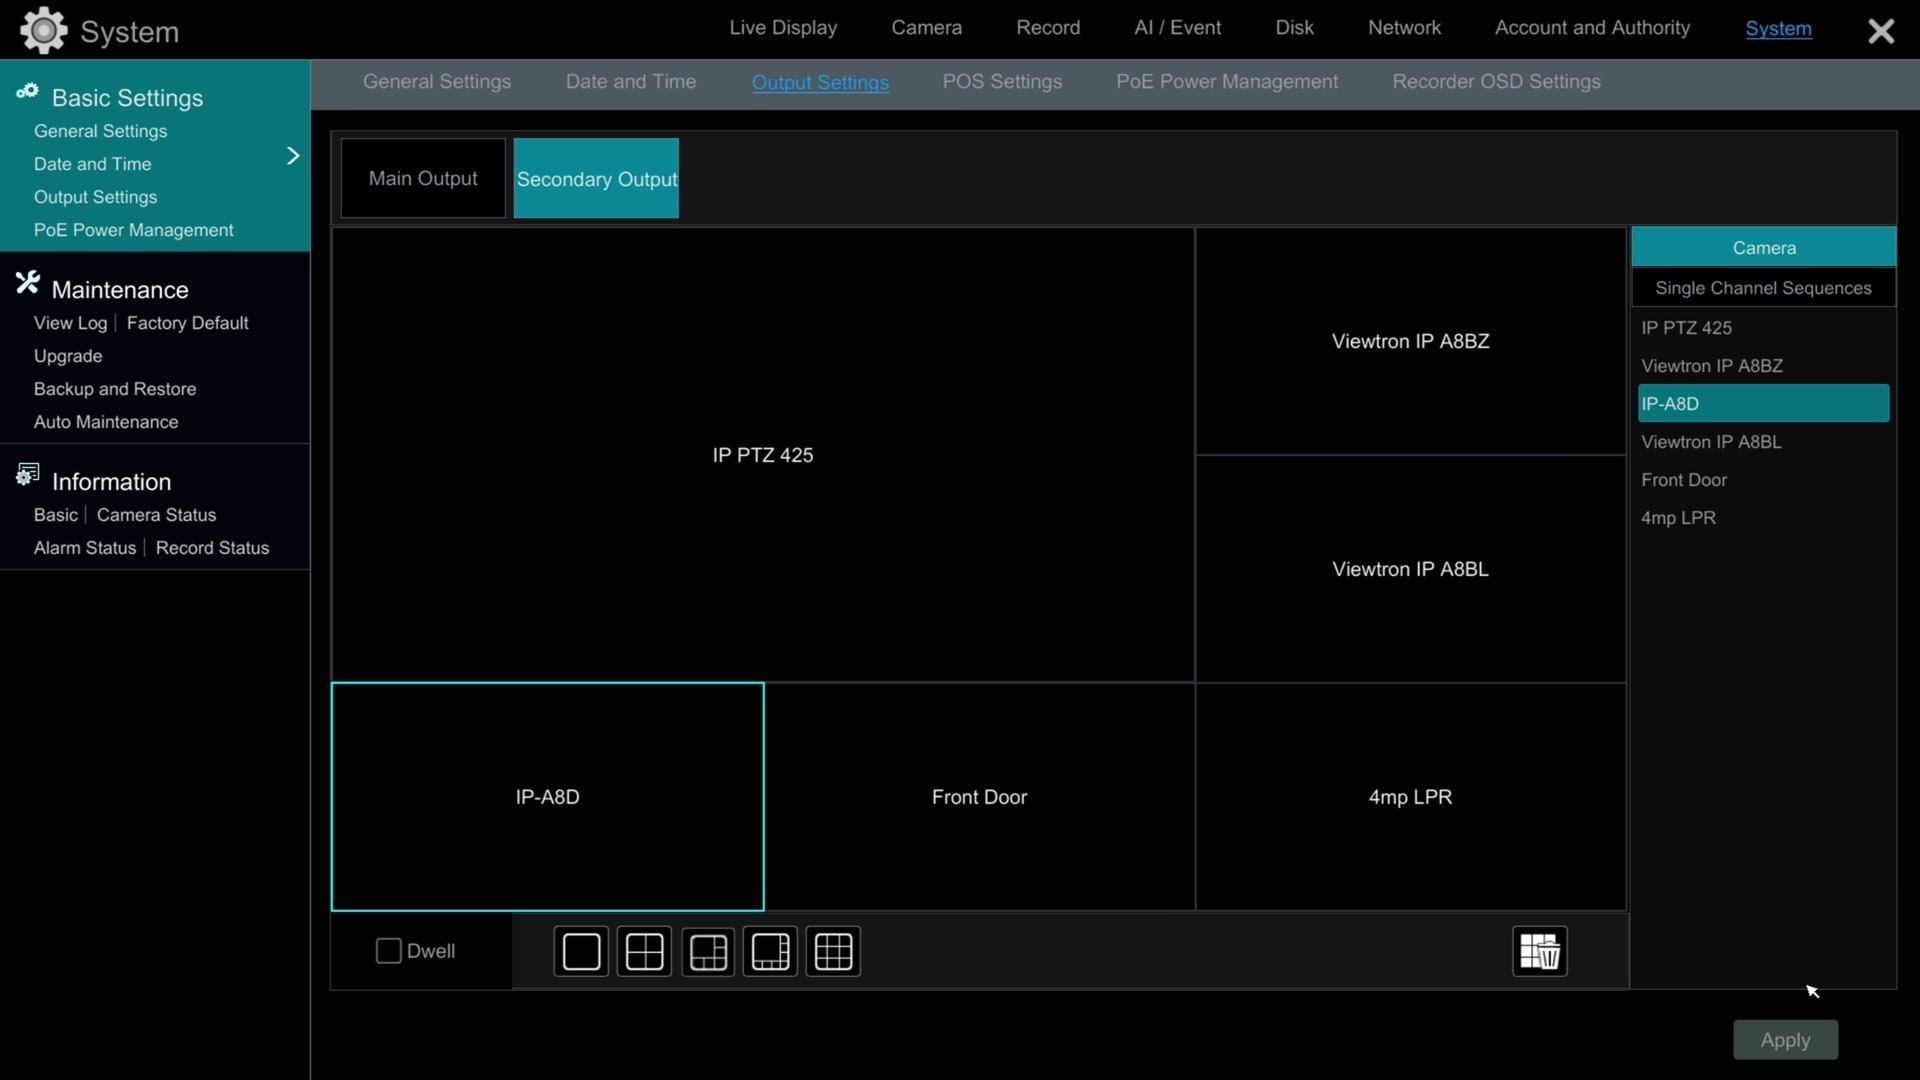
- From the NVR menu, select Settings > System > Output Settings.
- Select Secondary Output on the Output Settings Screen.
- Choose the screen layout from the row of icons on the bottom of the screen.
- Drag each camera from the Camera list on the right onto the grid where you want the camera placed.
- Press Apply.
Your TV monitor connected to HDMI output 2 should now display a live IP camera view according to. your spot monitor configuration.
Spot Monitor Dwell Time Setup
If you want to setup more than one spot monitor view / layout, you can enable dwell time and the spot monitor will scroll between multiple camera views / screens that you setup. This is how it works.
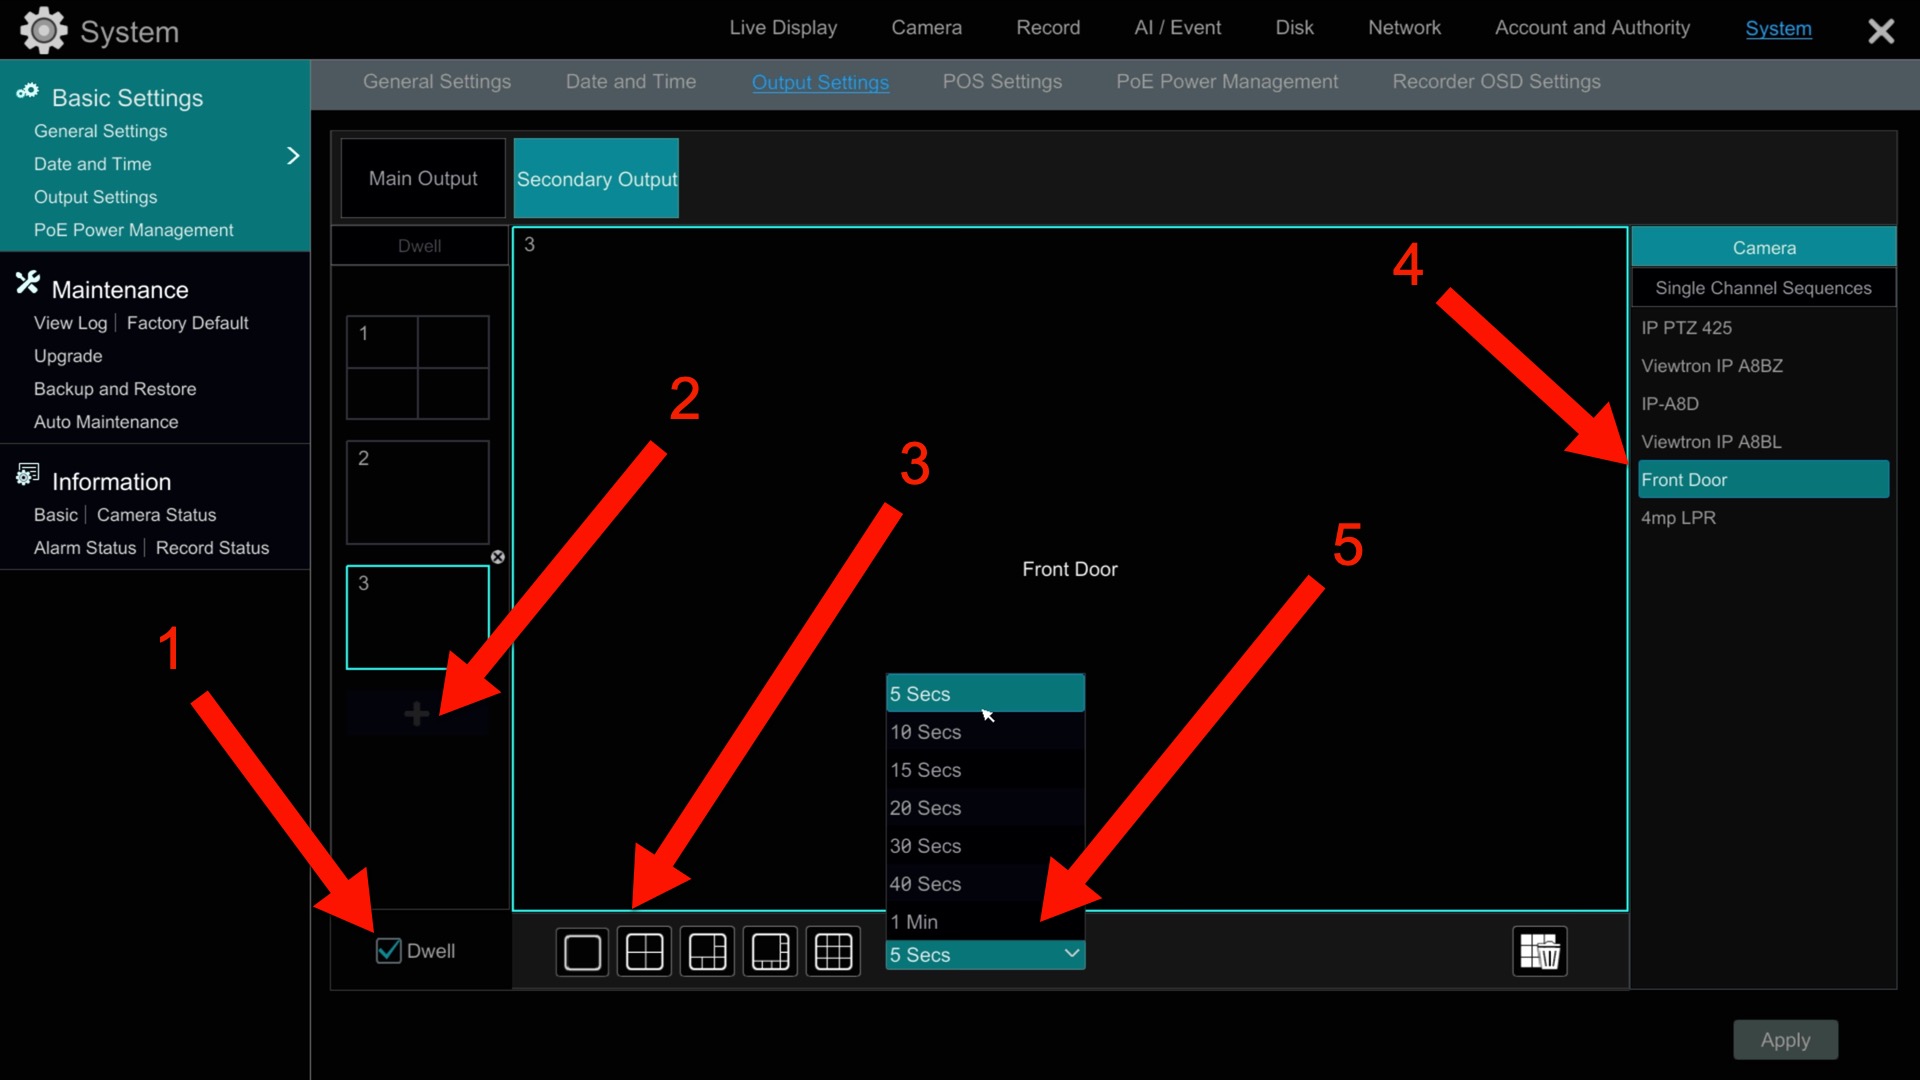
- On the Output Setting Screen, check the Dwell check box.
- Press the plus sign (+) to add the first view.
- Select the camera layout. Single camera, four camera, six camera, eight camera, and nine camera layouts are supported.
- Drag the camera(s) from the camera list on the right to the view location where you want them displayed. Repeat steps 2-4 to add additional screens / views.
- Select the time that you want the spot monitor display to pause on each screen.
- Press the Apply button in the lower right to enable this spot monitor configuration with dwell time.
IP Cameras
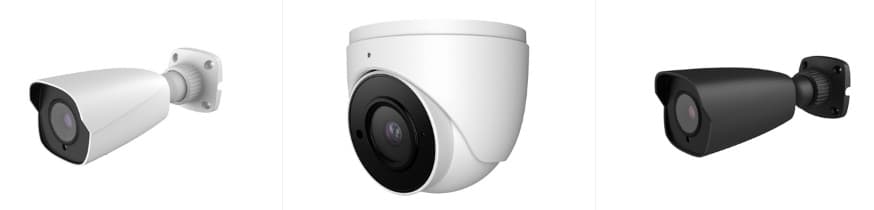
You can find our selection of dome, bullet, and PTZ IP cameras on here.
AI Security Cameras
Want to learn more about Viewtron AI security cameras? Please check out these video demos.
Have Questions / Need Help?
If you have any questions, please email me at mike@cctvcamerapros.net.
Video Transcript
Hey guys, Mike from CCTV Camera Pros here. In this video, I want to show you the spot monitor function of our 32 channel NVR. This is our Viewtron 32 channel NVR, and it has two HDMI outputs. And what I have done is, I’ve connected the primary HDMI output to this monitor that you see here, and HDMI output two to this bigger monitor over here that’s going to be my spot monitor. So what is a spot monitor? Let’s cover that first.
Basically, a spot monitor always displays a live view of your IP cameras. And with the Viewtron NVR, you can configure that live view, how you want it to be laid out, independent of the main monitor with the menu system. There’s no menu system on the spot monitor. It’s a live display, regardless of what’s going on over here on the main monitor. Let’s configure the spot monitor over here.
I’m going to go into settings, and then select system. And then I’m going to select Output Settings. Okay. Secondary output, that’s our spot monitor function. And this a 32 channel NVR, but I only have six Viewtron IP cameras connected right now. I’m going to select this six camera view here. I’m going to uncheck this dwell time and select the six camera view. We’ll do dwell time next. And then I can drag the cameras over into the grid where I want them to appear. I’m just dragging and dropping my IP cameras into this six channel grid view. And then when I hit apply, you’ll see the spot monitor activates and displays a live view of those six cameras. And you see over here the main monitor, obviously still in the menu system. And I can go back to the live display over here. I can switch to a single camera view, and it does not impact the layout of the spot monitor. That spot monitor view is fixed.
The other thing you could do is you could create a dwell time program where it switches views from camera to camera. So instead of being stationary, let’s do dwell time. I’m going to go back into Settings and again, back into system and then output settings. And then I’m going to check this dwell time box over here. And then I’m going to add a view. And here’s a four camera view, so we can start with that. That’s fine. We’ll add four cameras into this dwell time view. We’ll add these four, and then I’ll add another view. But I want that one to be a single camera view. We’ll do a single camera view of this camera, and we’ll do a third camera. That’s a single camera view of our front door camera. We have three views here. One is a four camera grid and then two single camera views. And we’ll have the dwell time set to five seconds. It’ll scroll between those views every five seconds. I’m going to hit apply.
And then over here on the spot monitor, you see it switched to the four cameras, and now it’s scrolling. That’s dwell time. Every five seconds, it’ll switch to the next view that I configured. And now it’ll go back to the four camera view and it’ll just keep doing that over and over again. And obviously, you can very easily add additional views by going into the menu system and back into system, back into output settings. And if I want to add another view, and I’ll make this one another single camera view of the PTZ out front, and we’ll do one more of one of the cameras out back. And you know what? We’ll get rid of the four camera view. We’ll switch it to all single camera views. So hit update. And now it’s going to just scroll between all those single camera views. And then I’ll switch back over here to the main screen and go back to the multi-camera view.
Guys, I hope this video has been helpful. As you can see, these Viewtron NVRs are extremely easy to navigate with that user interface and the point and click with the mouse, and it’s the same user interface for our BNC DVRs. We supply this equipment to DIY homeowners, small, medium, and large business, and we do a lot of business with the government because this equipment is NDAA compliant for government use. The apps are excellent. It comes with mobile apps for iPhone, mobile apps for Android, desktop software for Windows and Macintosh. You can connect to multiple DVR at multiple locations / sites. It’s extremely flexible for small business all the way up to large enterprises. These work with our Viewtron IP cameras, obviously our traditional IP cameras. We also have AI IP cameras. If you’re not familiar with AI cameras, I highly encourage you to look at our video demos of our AI security camera and our license plate recognition cameras. It has the built-in AI software and LPR software for all of that.
If you have questions about any of this, please feel free to reach out to me anytime. I can be reached directly at mike@cctvcamerapros.net. If you want to learn more about our complete Viewtron product line, the 32 channel NVR, we also have eight, 16 and a 64 channel NVR, as well as BNC DVRs and all kinds of IP cameras and BNC cameras. We put together custom quotes for customers all over the country every day. Please visit www.cctvcamerapros.com/viewtron.
Thank you for watching.


