How-to Setup IP Camera Streaming to a Website
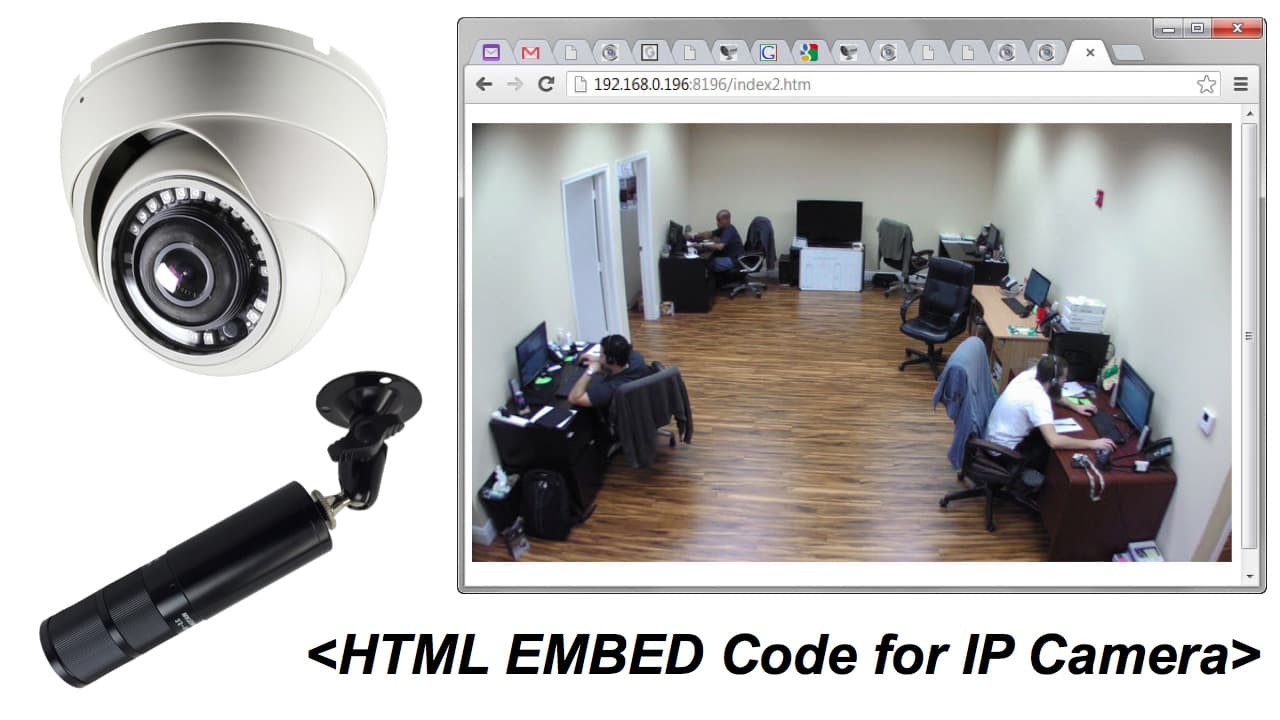
CCTV Camera Pros has helped hundreds of customers setup IP camera streaming to a website. In this article, I will document how-to use a service that can use the RTSP stream from an IP camera to embed live video on a web page.
This will not be a short article and it will be fairly technical. If you prefer to get assistance from one of our system designers, please request a free consultation here or you can call us at 888-849-2288. We can design simple systems for end users with little to no technical experience as well as large scale applications.
2023 Update! Best IP Camera Streaming Method
Please watch the below video and refer to our latest article here on IP camera streaming to website. You can also watch a live stream demo below that uses a Viewtron auto-tracking PTZ camera. CCTV Camera Pros highly recommends Viewtron IP cameras for streaming live video on a web page. All Viewtron IP cameras support this when using the IPCamLive service. You can also stream on Facebook and YouTube.
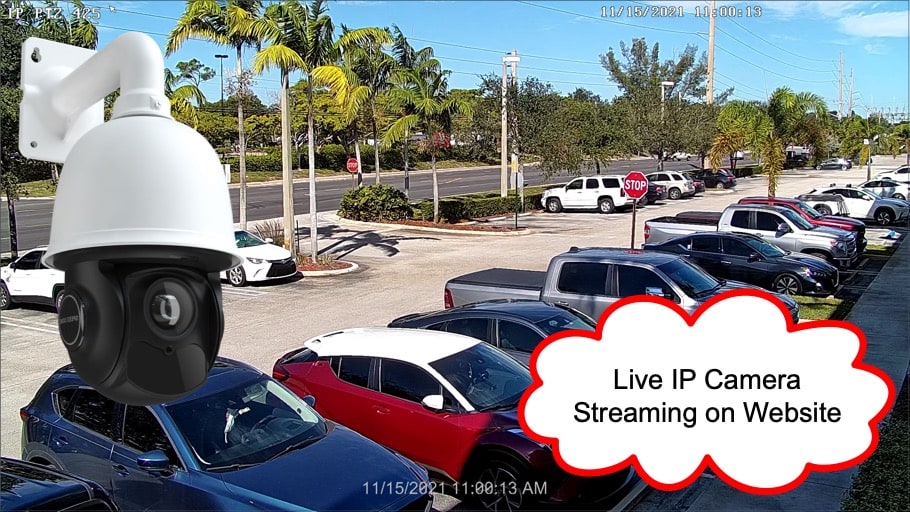
Live IP Camera Streaming Demo
Here is the actual video stream website embed (HTML) option. Please click on the above video player to start the live stream. After the video streaming starts, you can click on the full screen icon in the lower right of the video player to see a full screen view.
Who should read this?
This article is intended for anyone looking to live stream an IP cameras to a website using RTSP video. In the past, we have setup similar applications for tennis courts and other sports arenas, hotels / vacation resorts, bars / restaurants, weather channels, barber shops and so on; the applications are endless. This article will allow the average end user to setup a camera live video stream to their website with an easy to use embed code, using basic html. Using the method documented in this article you will be able to stream the live video to an unlimited amount of users without the need for high end servers and other equipment.
Why Should I Use RTSP vs MJPEG?
One of the benefits of the method we are documenting in this article is it uses the RTSP stream instead of a MJPEG. MJPEGs are typically more popular because it is so much easier to create a basic html code to with a basic internet connection. The issue with a MJPEG, it is not as fluid of a video stream, the video will be much choppier compared to RTSP which is more real time. Another benefit of RTSP is it can carry audio as well as video. In short RTSP is going to give you a much nicer video with much less latency.
What will I Need to Accomplish Embedding a RTSP Stream to my Website?
You will need the following:
- A device that outputs an RTSP stream or a Device that supports ONVIF protocol. In this article we will be using a GeoVision GV-EFER3700 IP camera that is both RTSP and ONVIF compliant. GeoVision is a leading IP camera manufacture with great, easy to use cameras. I also highly recommend Viewtron IP Cameras for website embedding.
- Internet at the camera location. We recommend at least 2Mbps upload speed.
- A subscription with IPcamLive (You will need the “Standard” package or higher).
- Depending on the camera / device you choose you may need a CAT-5E cable with RJ45 Connectors and POE Injectors / switches for power if you choose to go with POE (Power Over Ethernet).
Getting Started
First, you need to ensure that your IP camera / devices RTSP stream is active and working. Some cameras will require you to enable the RTSP stream prior to it being available. You will typically find this in the cameras Web GUI. To test the RTSP stream you can simply use VLC player. Again, in this article we will be using a GeoVision IP camera. All GeoVision IP network cameras use the following URL for their RTSP stream.
rtsp://username:password@<IP address of the camera:8554/<CH Channel number>.sdp

ex. rtsp://admin:admin@192.168.0.10:8554/CH001.sdp
NOTE: The RTSP URL will most likely be different from manufacture to manufacture, you will need to refer to your devices user manual to ensure you are using the proper RTSP URL.
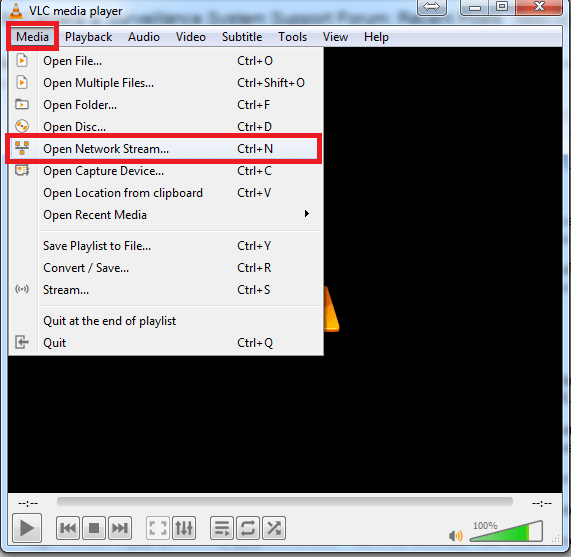
Once you have the correct RTSP call out you can test and view the video feed via VLC player. To view the RTSP stream in VLC player go to MEDIA > OPEN NETWORK STREAM
Now, type in the URL of the RTSP stream of the camera / device and press the play button. If working correctly you should see video.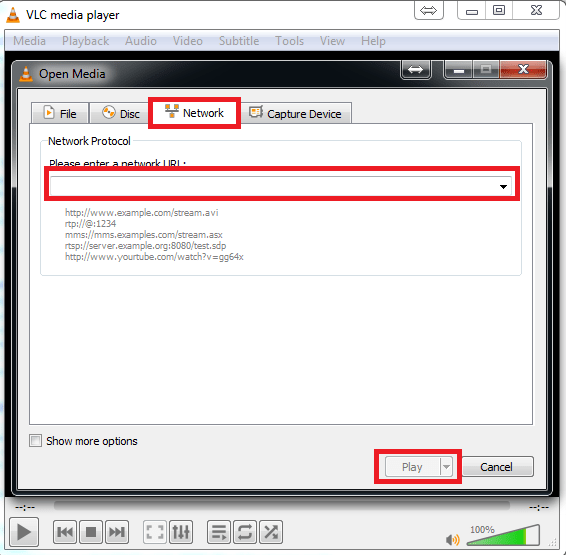
Once you have the RTSP stream working properly, go to https://www.ipcamlive.com/register and register your account. IP Cam Live does give a free trail so you do not need to commit to payment until you know everything is working.
Once you are registered and logged in click the “New Camera” button.

Now, if your camera / device supports ONVIF protocol you can select the “Add new camera via ONVIF” option. If your device does not support ONVIF select the RTSP/HTTP Stream option.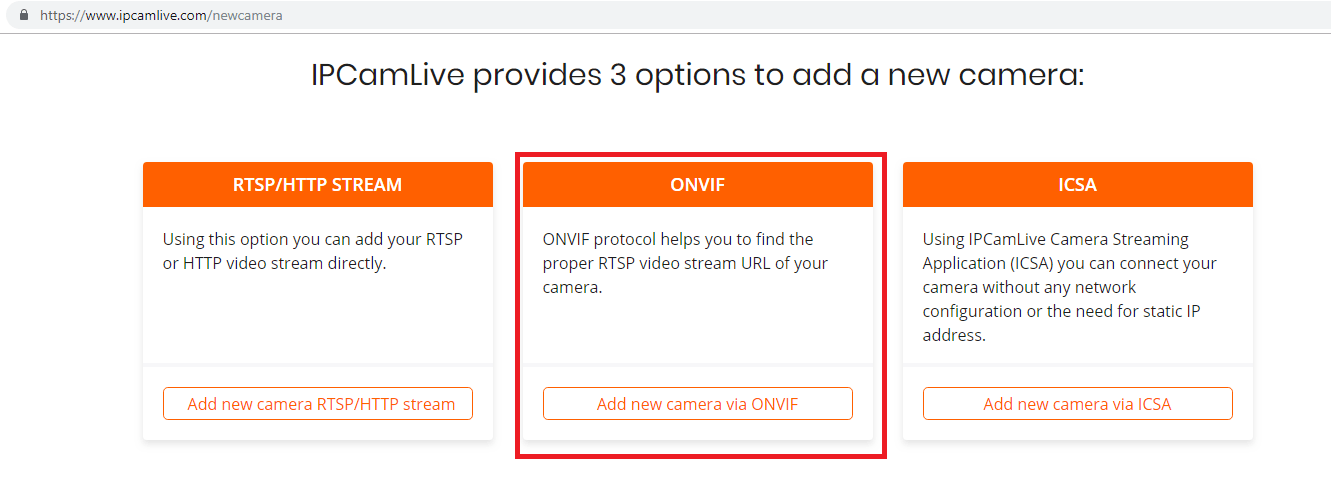 NOTE: Each camera you wish to use with IP Cam Live will require you to forward the respect ports for each camera’s RTSP stream. For GeoVison we are required to forward ports are 80 (HTTP), 10000 (VSS) and 8554 (RTSP). Since you cannot forward the same port for multiple devices you will need to change the ports so they are unique on each one of your cameras.
Once the ports are forwarded, Type in your host address / ip address into the “Address” field followed by a colon, http port. The User name and password are admin by default for GeoVision cameras.
NOTE: It is recommended to use a static ip address. If you do not have a static IP address it is recommended to use a DNS services like dyn.com , noip.com etc. Some IP cameras come with a built-in DDNS service, GeoVision does offer a free DNS host-name with the purchase of their cameras.
Click the “Discover” button
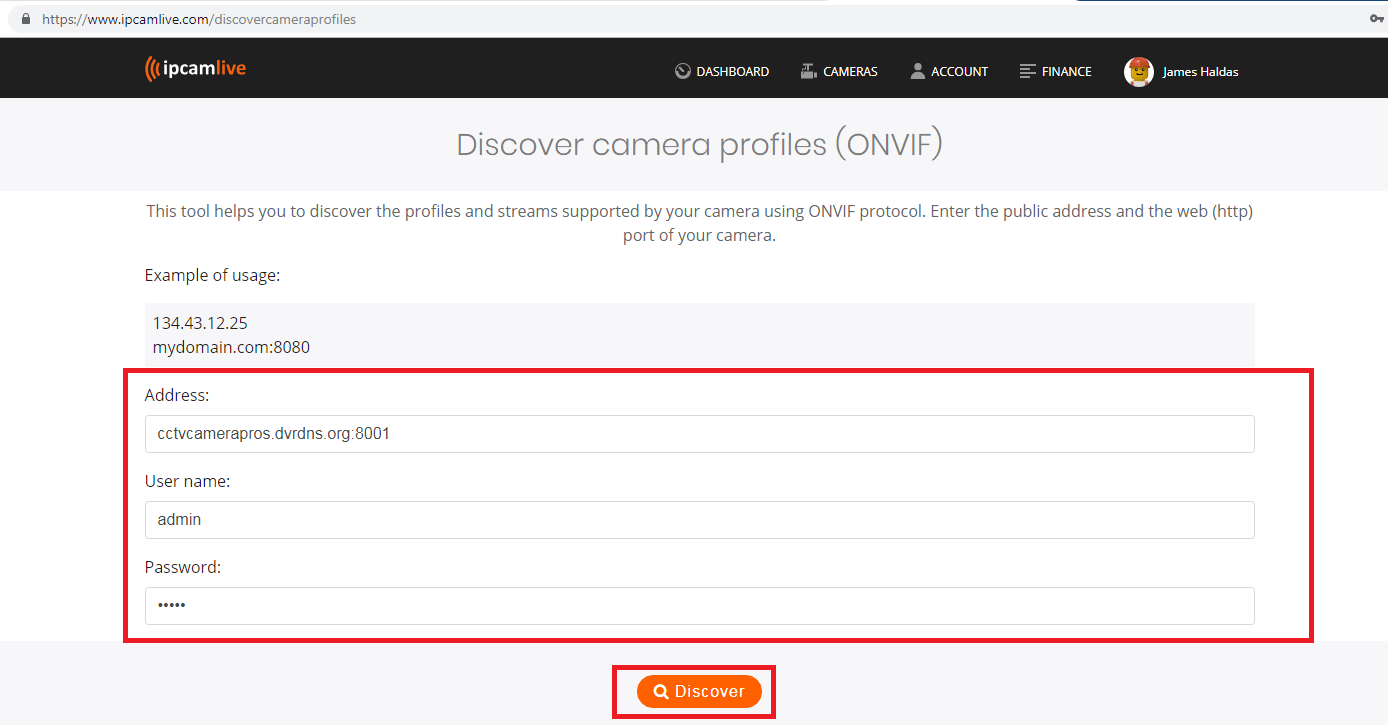
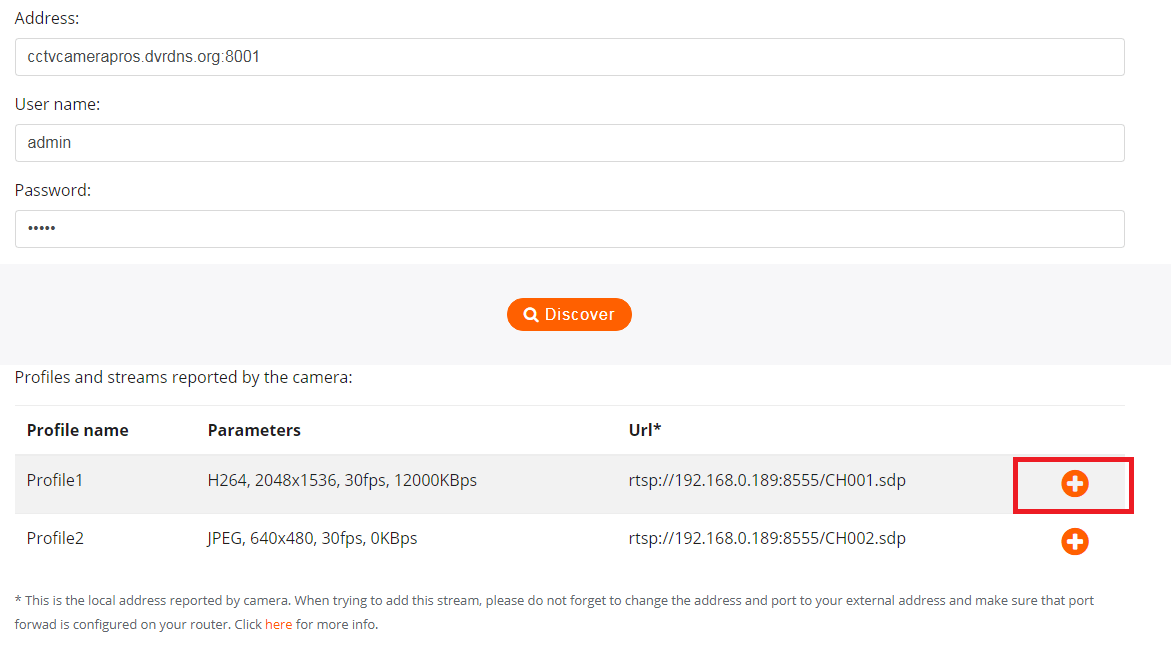
You should now see (2) profiles , you will want to grab profile one as this is the main stream and higher resolution. Click the + button next to Profile 1 to select it.
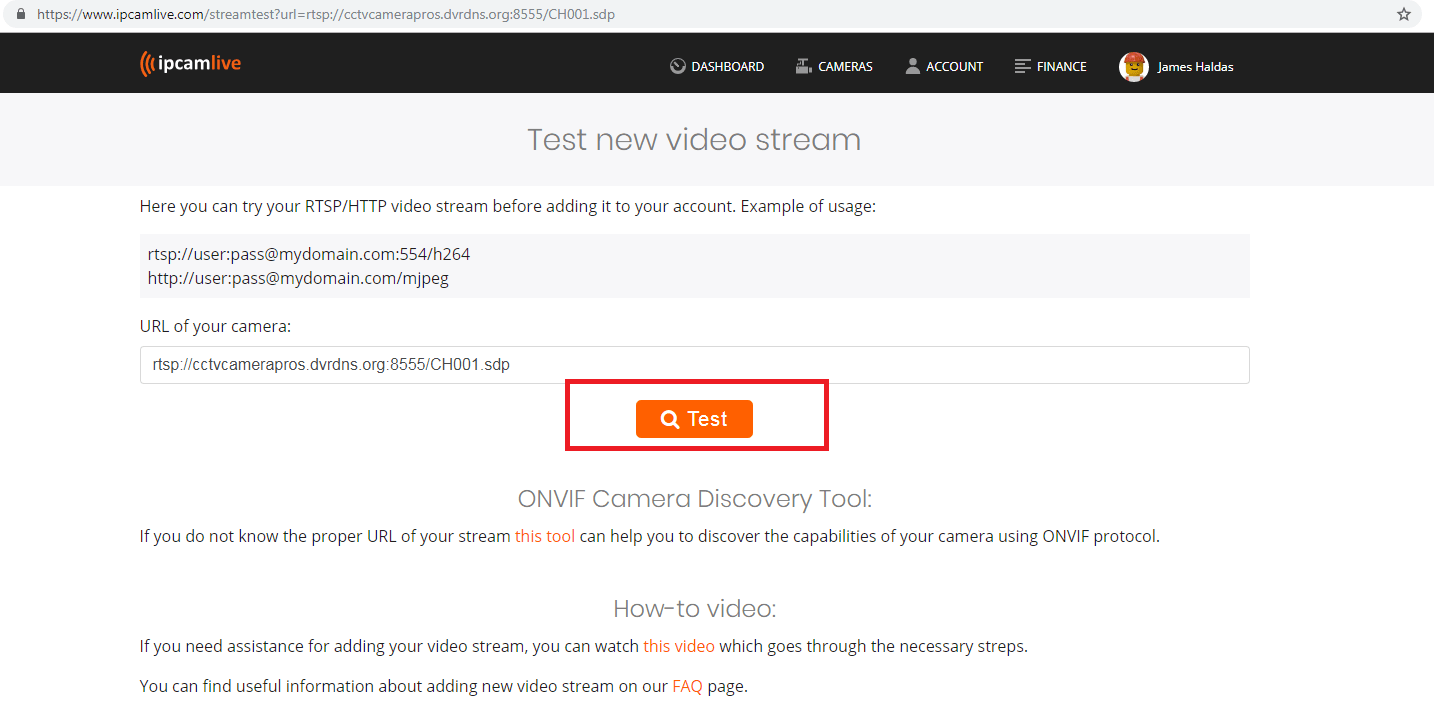
10. Click the “Test” button to gain access.
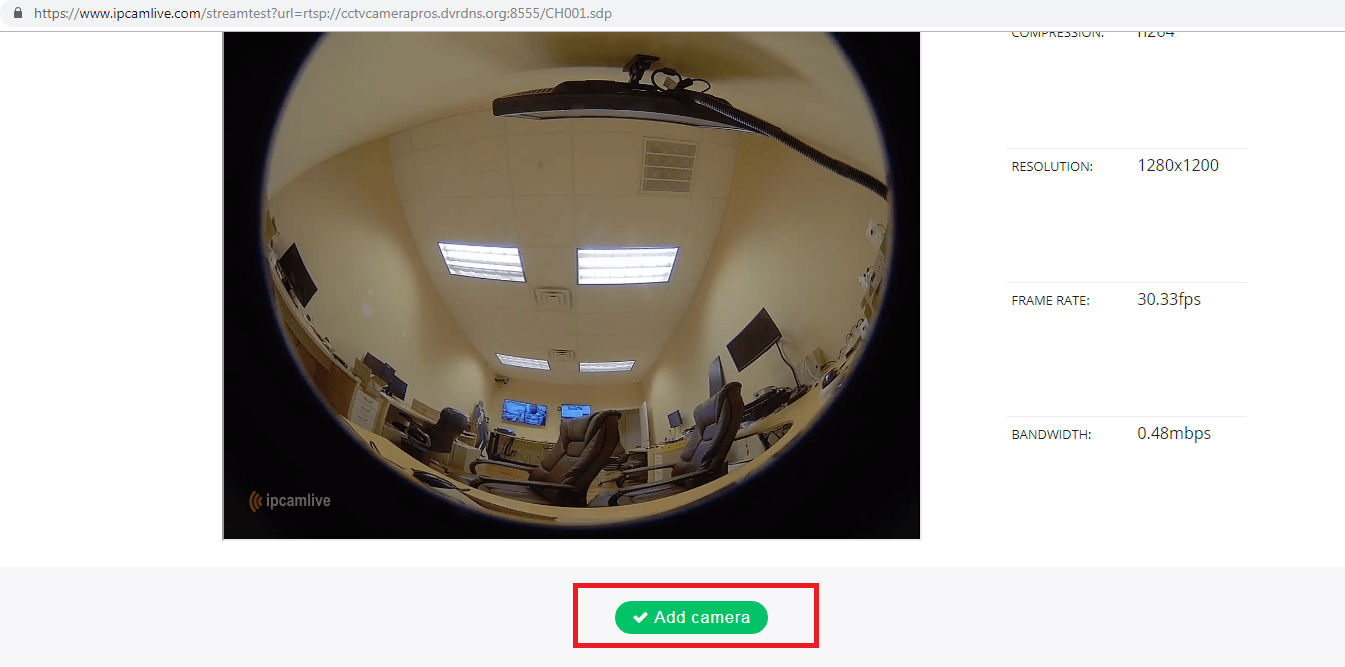
Once available, click the “Add camera” button.
Select the plan you wish to use.
NOTE: to get the embed code you will need to select at least the “STANDARD” package. 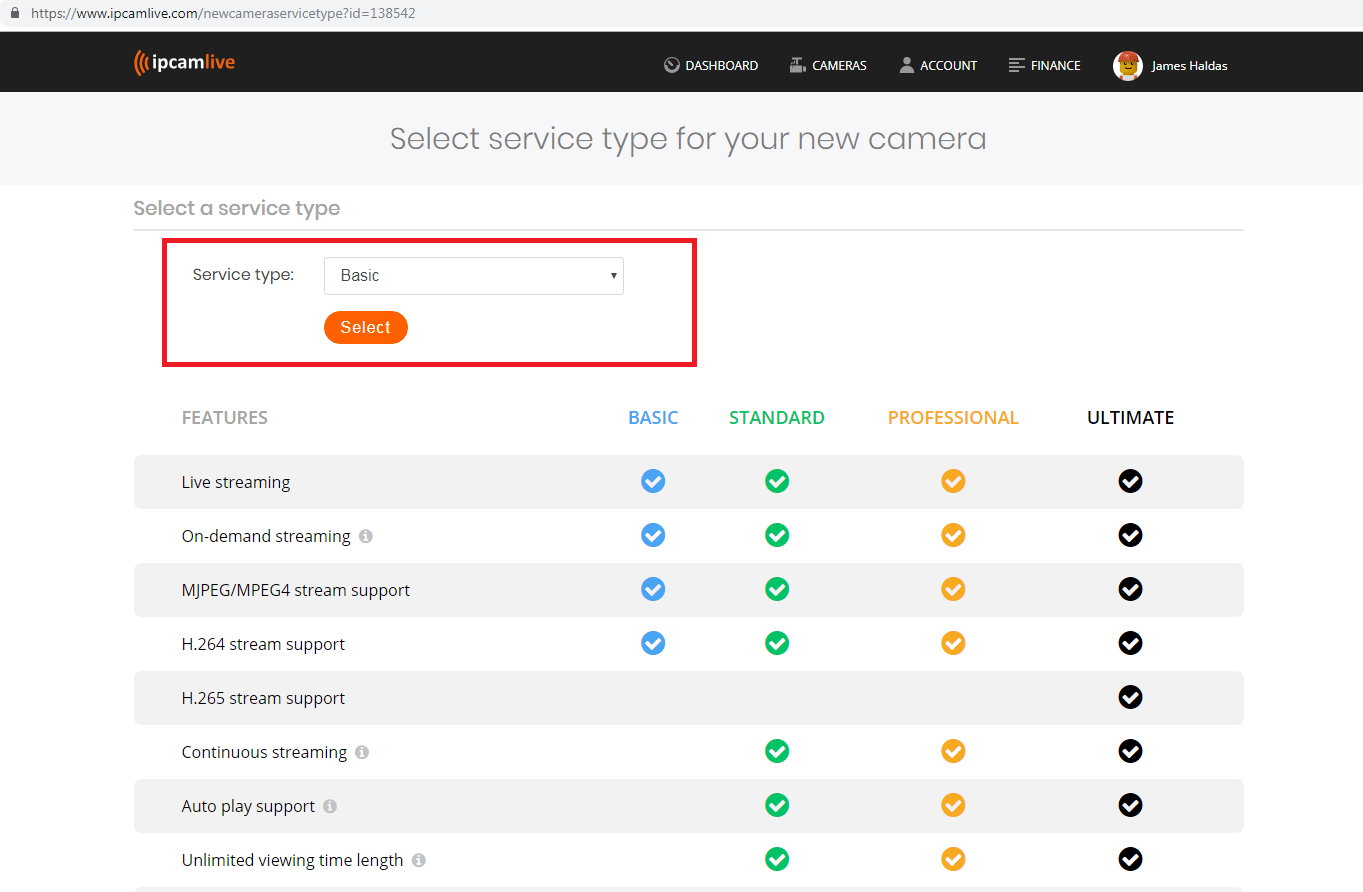
Now select the “Sharing” tab and you should see the embed code. This is the embed code that will allow you to stream the ip camera to your website.
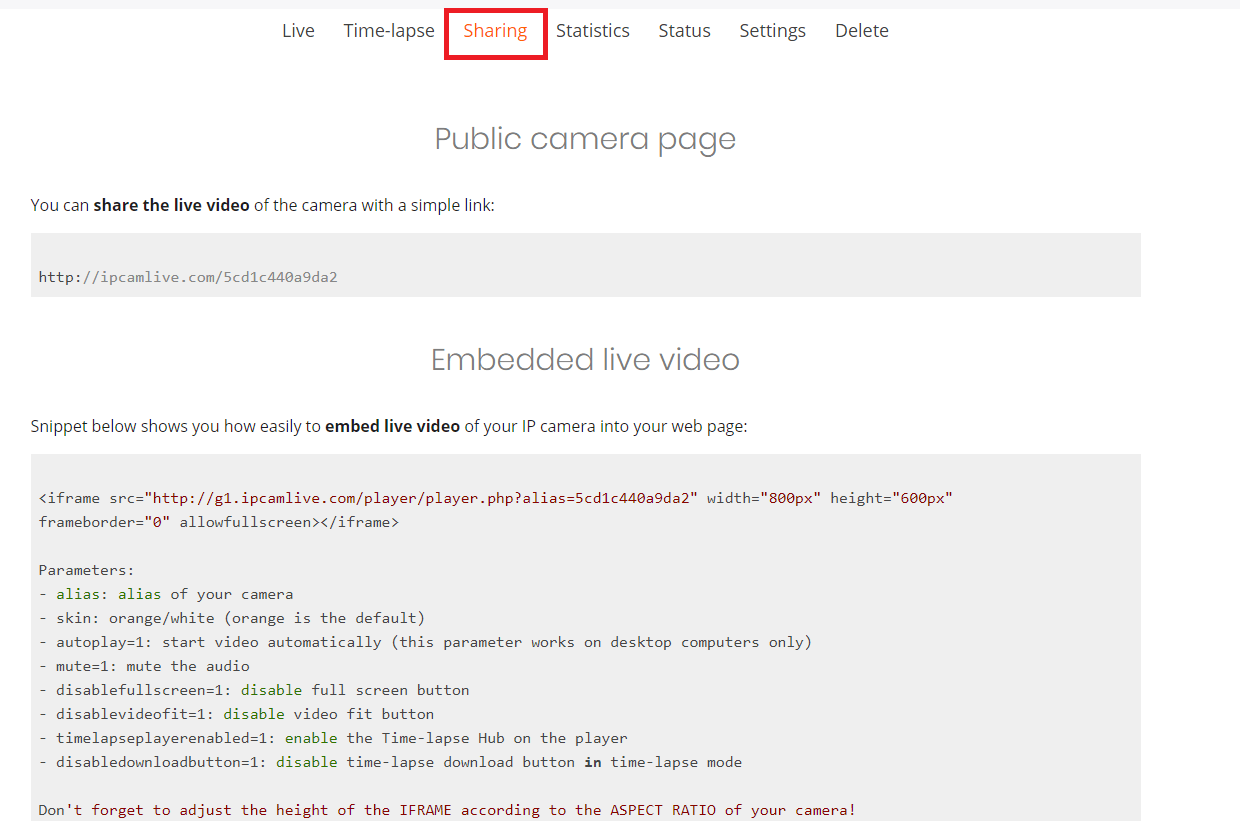
Now you will take the above embed code and drop this into your webpage you would like the video stream to display on.
More Ways to Stream an IP Camera
If you are looking for a way to stream an IP camera to website for free you can reference our ZAVIO IP cameras and the article below. The following method uses MJPEG and will not look as nice however it is free and a great option for websites that do not require audio or Real time video.
https://www.cctvcamerapros.com/Embed-IP-Camera-in-Web-Page-s/657.htm
If you would like help designing a system or have any questions, you us an email here here.
Here are some additional streaming options.
- How to Embed Live Video on a Web Page using GeoVision IP Cameras
- How-to Embed IP Camera Video in Web Page
- How to Embed IP Camera Video into a Web Page using Vivotek Network Cameras
- How-to Use Multiple HD CCTV Cameras to LiveStream Video on YouTube and Facebook
Related Video Surveillance Articles & Products
- HDMI to USB Converter – this converter box enable live video streaming. Users can add a CCTV multiplexer to create a multiple camera streaming system.
- How-to Design the Best Outdoor Wireless Security Camera System
- Live TV Display Systems for Security Cameras
- Hybrid HD Surveillance DVRs
- Display Video from Multiple Security Cameras with CCTV Multiplexers
